Receive scores and setlists from another device via QR code or archive file, choose what to import, and save.
Receive Shared Data
Receive Shared Data
Import the songs and setlists a bandmate sent you, checking the contents as you go. There are two ways to receive — QR code and archive file — and with either one you choose what to import before saving.
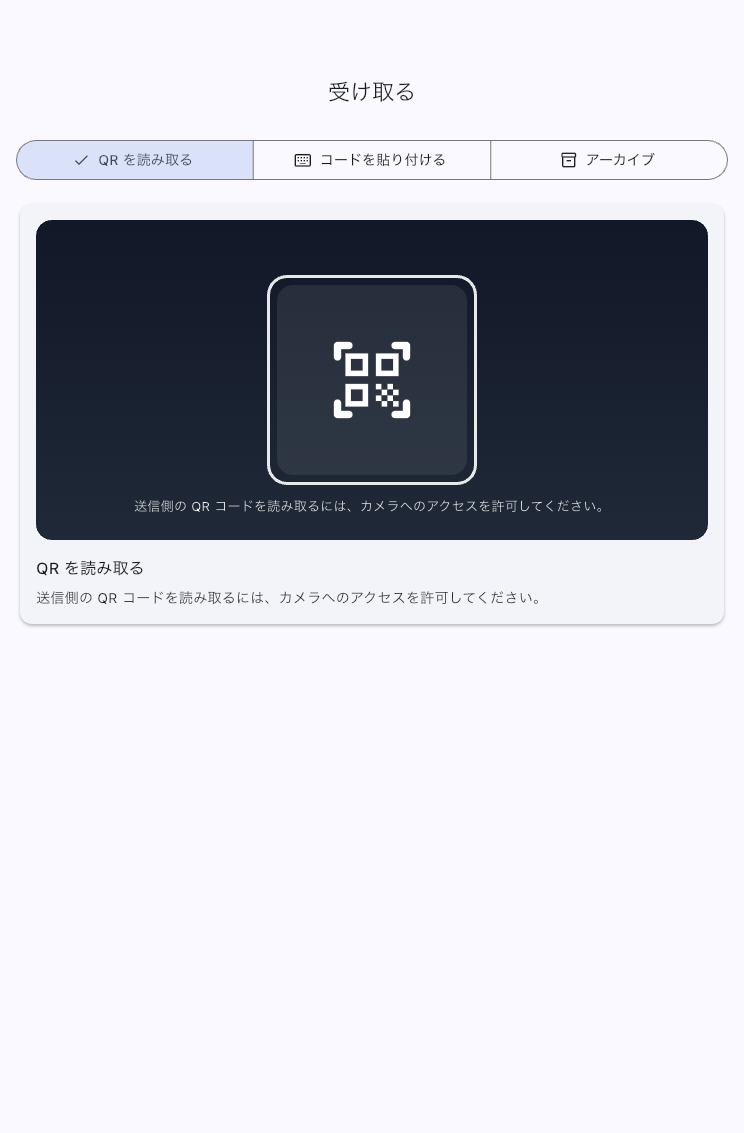
How to Receive
Scan a QR Code
Scan the QR code displayed on the sender's device to connect. This is the fastest option when both devices are on the same Wi-Fi network. Once the sender stops the share session, that QR code can no longer be used.
Open an Archive
Open a shared archive file (.ppva) to import its contents.
Useful when you want to hand data over without a network.
Sharing vs. Backup
- Sharing (
.ppva) imports selected songs or setlists. It adds to or reuses items in the current library. - Backup (
.ppbk) restores the entire app data set on a device. It is meant for full-device migration or recovery.
Use sharing when you want to send one song to another musician, distribute a setlist to band members, or move only part of your library to another device. Use backup when you are moving or preserving the whole app.
What You Can Do in the Preview
After the transfer is complete, a preview screen opens before anything is saved. Here you can choose item by item whether to include scores, audio, timeline, annotations, tags, and display settings. This lets you keep only what you need instead of inheriting the sender's entire organization.
How to Think About the Checkboxes
If you leave the score itself out, the annotations and tags attached to it go with it. Annotations, audio, timeline, tags, and display settings can each be left out depending on what you are after.
- Include annotations when you want the sender's markings, fingerings, cuts, or notes on the score.
- Include audio only for songs where you want the sender's rehearsal track, click, or playback source.
- Include the timeline when you want automatic page turns or timeline cues to come across.
- Include tags when you want to inherit the sender's organization. Leave them out if you use your own tag system.
- Include display overrides when you want to carry over a song's custom display pattern, zoom, timeline visibility, or text-page layout.
Audio tags can only be chosen when audio is included, and timeline tags only when the timeline is included. Adding the song to a setlist and its per-song display settings also become unavailable once something they need is left out. If a combination cannot be imported, follow the note in the preview and revise your selection.
Whether to Add the Song to a Setlist
When the sender included settings for the song in the setlist, the single-song receive preview shows "Add song to a setlist." Turn it on to add the received song to an existing or new setlist with the sender's page range, tempo, time signature, audio start position, and related settings.
- Turn it off when you only want the song in your library.
- Turn it on and pick "Setlist to add to" when you want it added with the sender's page range and tempo.
- To receive this song's own display settings as well, turn on both "Add song to a setlist" and the display settings.
How Setlists Are Handled
The available options change depending on whether you are importing a single song or an entire setlist. Even when importing just one song, you can add it to an existing setlist or create a new one if needed.
For setlist shares, the preview can include the running order, selected songs, setlist memos, each song's page range, and playback settings. If only some songs are imported, memos are kept only when they sit immediately before or after one of the selected songs. If there are more songs or assets than you need, remove them in the preview before importing.
When the Same Content Already Exists
If the app decides that a score or audio file you are importing matches something already in your library, the import pauses and asks you to choose "Use Existing" or "Import New Copy". It asks again each time it finds a match.
Choose "Use Existing" when you do not want another copy of the same PDF or audio. Choose "Import New Copy" when the content is the same but you want to keep what you received filed separately.
During and After Import
Progress is shown while the import is running. Once complete, an "Open imported setlist" button appears only if a new setlist was created or a song was added to a setlist — tap it to go straight to that setlist. Otherwise, you can navigate to the library to review what was imported. Trimming the preview first can save cleanup work later, especially for tags, audio, and timelines you do not plan to use.
If You Get Stuck
- If you cannot connect to the sender, check the following in order:
- Are both devices on the same Wi-Fi network? (Check that neither has switched to mobile data.)
- Is the Wi-Fi router's client isolation feature (AP isolation / privacy separator) disabled?
- Has this app been granted Local Network access?
- Is the sender still displaying the QR code?
- If you see "Sender's share not found," the sender may have ended the session or the QR code may be stale. Ask the sender to start sharing again, then tap "Scan again" to re-scan the QR code.
- If you still cannot connect, ask the sender to export an archive (.ppva) and send it via AirDrop or cloud storage. On the receive side, use "Receive as a file" to import it.
- If there is more content than you need, uncheck the unwanted items in the preview screen.
- When there is a risk of overlap with existing data, read the preview screen carefully before you continue. If a duplicate is found, you are asked to choose "Use Existing" or "Import New Copy".
- If the display or audio does not match the sender's setup, check whether "Add song to a setlist," per-song display settings, audio, and timeline were all enabled in the preview.
- If Voice Count disappeared after sharing, current song and setlist
.ppvashares do not transfer its enabled state, A/B/C bar selections, or voice type—even when settings for the song in the setlist or a timeline are included. On the receiving device, Voice Count is off, its bar selections are blank, and its voice type is reset to the default; configure it again if needed. - If you cannot find the sharing QR code, check Send a Song or Send a Setlist on the sender's side.